How to Make a Bonsai From Nursery Stock: A Step-by-Step Guide
Bonsai for beginners · Updated
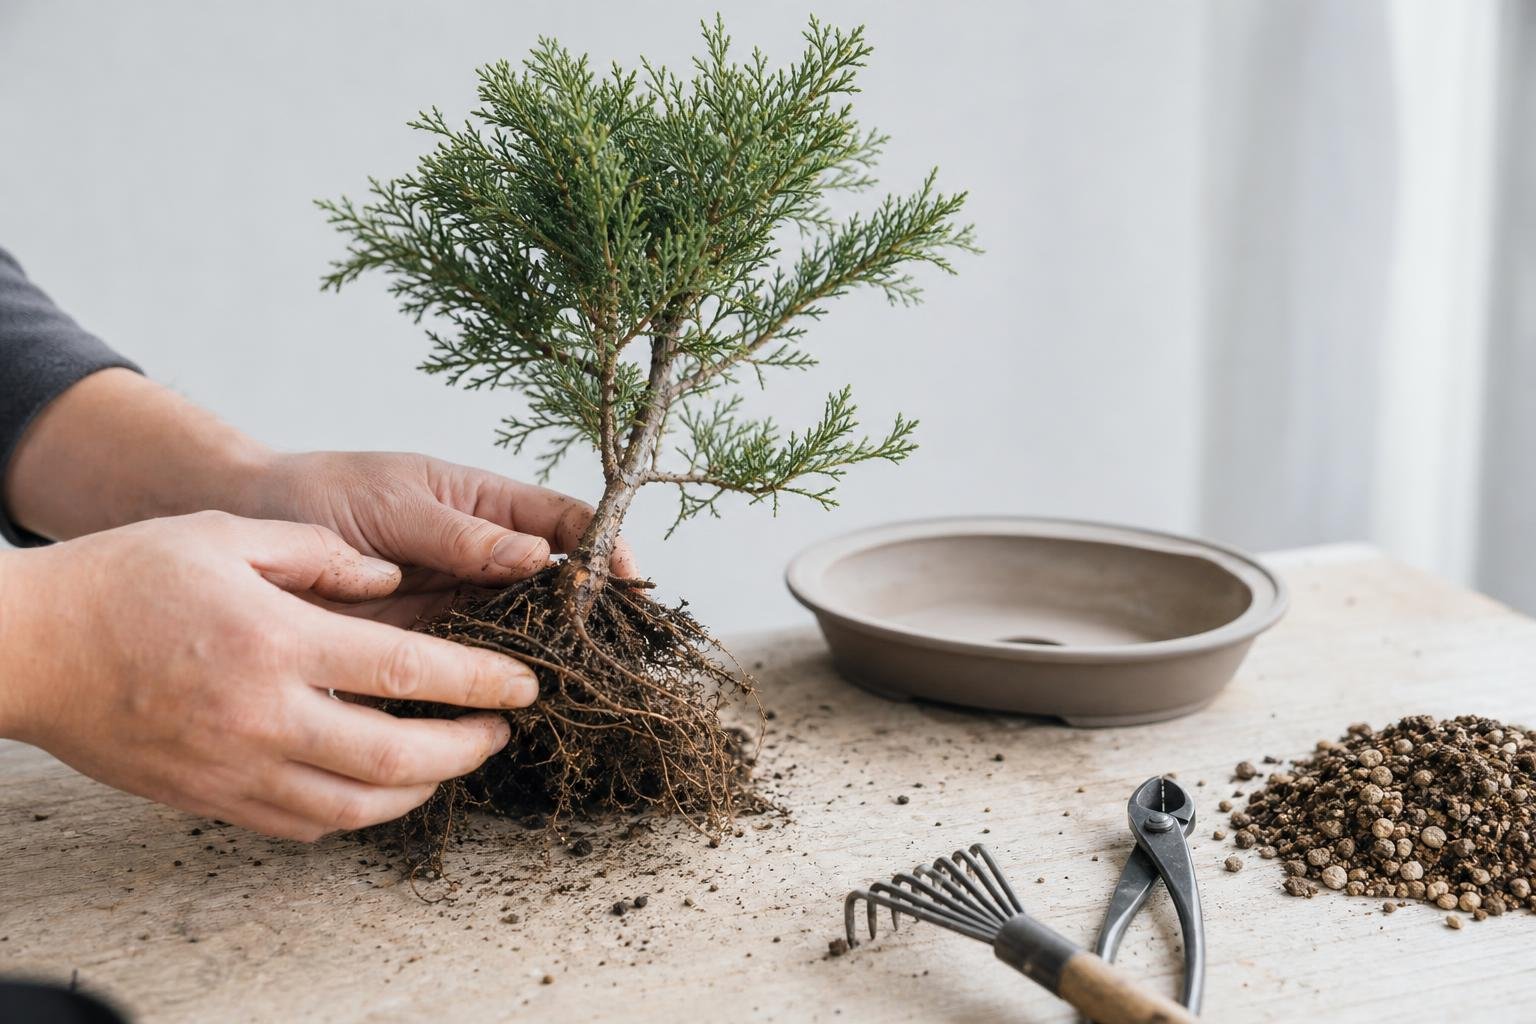
You don’t need to spend hundreds on a finished tree to start bonsai. Many impressive bonsai began as nursery stock: an ordinary young tree or shrub in a plastic pot from a garden center. Bonsai growers also call it “pre-bonsai” or “raw material.” It is cheap, widely available, and usually has a thicker trunk than a bonsai sold as a starter kit.
This guide shows you how to choose good material and turn it into a bonsai, with the order of work that keeps the tree healthy.
The best nursery plants for bonsai
Choose a species that suits your climate and tolerates pruning. Good choices for beginners:
- Juniper (e.g. Juniperus procumbens ‘Nana’, Juniperus chinensis): tough, flexible, easy to wire. Outdoor only.
- Chinese elm (Ulmus parvifolia): fast-growing and buds back almost anywhere. Very forgiving.
- Trident or Japanese maple: beautiful deciduous bonsai with good autumn color.
- Boxwood (Buxus): small leaves, slow and steady, takes hard pruning well.
- Cotoneaster: small leaves, flowers and berries; great for cascade styles.
- Ficus and Portulacaria (dwarf jade): the best options if your bonsai must live indoors.
What to look for in nursery stock
Ignore the foliage at first; it can be regrown in a season. Focus on the things that take years to develop:
- A thick trunk. Trunk thickness is the hardest thing to create in a pot. Choose the thickest trunk you can find for your budget.
- Taper. The trunk should get gradually thinner from base to top.
- Nebari (surface roots). Push the topsoil aside at the base. Roots radiating out in several directions are ideal; a single root going one way, or roots crossing over the trunk, are faults.
- Low branches. Branches near the bottom of the trunk give you options. You can always remove branches, but adding them low on the trunk is slow.
- Movement. A curve or twist in the lower trunk adds character and suggests a style.
- Health. Strong, colorful foliage and firm bark. Avoid plants with pests or dieback.
Tools and supplies you need
- Sharp pruning shears and a concave cutter (or knob cutter) for clean branch removal
- Anodized aluminum or annealed copper bonsai wire in a few sizes, plus wire cutters
- A chopstick or root rake for working the soil
- Free-draining bonsai soil (akadama, pumice and lava rock) or a good substitute
- Cut paste for sealing larger wounds on deciduous trees
When to start
For most temperate trees, the best time for major work is late winter to early spring, just before or as the buds start to swell. The tree has full energy reserves and recovers quickly. Junipers are more flexible and can be styled from late autumn through early spring. Tropical species like ficus can be worked during any period of active growth.
Step by step: from nursery plant to bonsai
Step 1: Clean up and expose the roots
Remove weeds, moss and dead foliage. Then carefully dig away the top layer of soil at the base until you find where the roots spread from the trunk. Nursery plants are often planted too deep, and the true root flare can be several centimeters down. This tells you where the trunk really begins.
Step 2: Find the front
Turn the tree slowly and look at it at eye level from every side. The best front usually shows the trunk’s movement clearly, has the trunk leaning very slightly toward the viewer, shows good surface roots, and has no large branches pointing straight at you low on the trunk.
Step 3: Choose a style and the height
Let the trunk suggest the style: a straight trunk suits formal upright, a curving one informal upright (moyogi), a leaning one slanting or cascade. Decide on the final height, roughly where the trunk is still thick enough to look natural. If the tree is much too tall, you may need to shorten the trunk and develop a new apex from a lower branch.
Step 4: Structural pruning
Select the main branches. Classic design uses a first branch about a third of the way up the trunk, a second branch higher on the opposite side, and a back branch for depth, with branches getting shorter and closer together toward the top. Remove:
- Branches that cross the trunk or each other
- Two branches growing from the same height (bar branches): keep one
- Thick branches high on the trunk that would reverse the taper
- Branches growing straight toward the viewer low on the trunk
- Long, straight shoots with no taper or movement
Don’t remove more than about a third of the foliage in one go. On conifers, leave a short stub; it can be turned into deadwood (jin) later. Learn more in when to prune bonsai.
Step 5: Wire the branches
Wire gives the branches their position and movement: usually lower branches angled slightly down and the tips raised, like a mature tree. Our full guide on how to wire a bonsai tree covers wire sizes and technique.
Step 6: Root work and the pot (often next year)
It is tempting to put the tree straight into a shallow bonsai pot, but this is a common mistake. A tree that has just lost a lot of foliage should not lose most of its roots at the same time. For most nursery stock, the safest approach is:
- Style the top this year and leave the roots mostly alone, or reduce the root ball by no more than about a third.
- Move it into a slightly smaller training pot or wide container with free-draining soil.
- Next spring, once it has grown strongly, reduce the roots further and move it into a bonsai pot.
Step 7: Aftercare
Keep the tree out of strong afternoon sun and wind for 2–3 weeks. Water carefully: a tree with less foliage uses less water. Don’t fertilize for about a month after root work, then feed through the growing season to rebuild strength.
A realistic timeline
| When | What happens |
|---|---|
| Year 1, spring | Choose the front and style, structural pruning, first wiring |
| Year 1, summer | Let it grow strongly; remove wire before it bites |
| Year 2, spring | Root reduction and move to a bonsai or training pot; refine branches |
| Year 2–3 | Build secondary branches and foliage pads through pruning and pinching |
| Year 3+ | Refinement: ramification, smaller leaves, a more mature look |
Common beginner mistakes
- Doing heavy pruning and heavy root pruning in the same session
- Choosing a tree for its foliage instead of its trunk
- Keeping outdoor species such as junipers indoors (see why junipers turn brown)
- Watering on a schedule instead of when the soil is drying
- Expecting a finished bonsai in one afternoon: the first session sets the direction, and the tree does the rest
Frequently asked questions
Can any nursery plant become a bonsai?
Most woody trees and shrubs can be trained as bonsai, but species with small leaves, good bud-back and tolerance for pruning (juniper, elm, maple, boxwood, ficus) are much easier. Avoid plants with very large leaves or that don’t tolerate root pruning.
Should I put nursery stock straight into a bonsai pot?
Usually not. Style the top first and keep most of the roots, then move the tree into a bonsai pot the following spring once it has recovered. Doing everything at once risks losing the tree.
How long does it take to turn nursery stock into a bonsai?
The tree looks like a bonsai after the first styling session, but developing fine branching and a mature look typically takes three to five years of seasonal work.